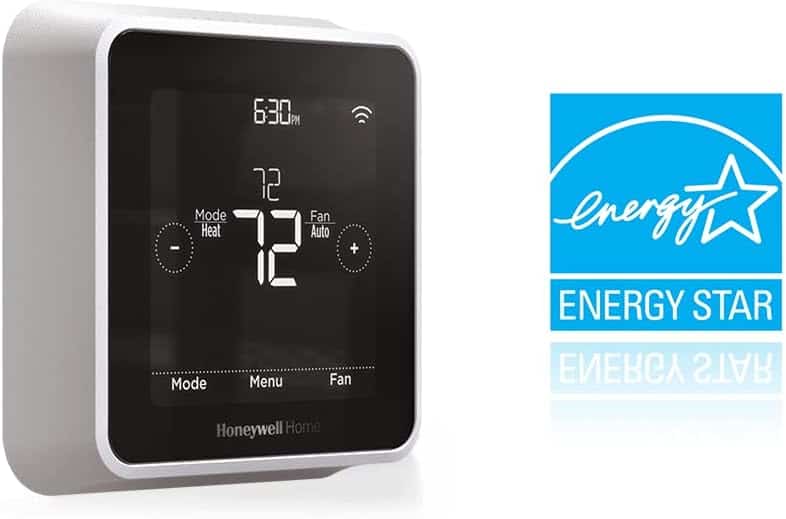
In the era of smart homes, the Honeywell T5 Smart Thermostat stands out as a beacon of convenience, efficiency, and innovation.
This comprehensive guide is tailored to homeowners, DIY enthusiasts, and professionals seeking to master the art of Honeywell T5 Smart Thermostat installation. With energy savings, remote accessibility, and climate control at your fingertips, understanding how to properly install this device is paramount.
This article, crafted with meticulous detail and adherence to best SEO practices, will ensure you have all the information you need for a successful installation.
Deep Dive into the Honeywell T5 Smart Thermostat
Before embarking on the installation process, it's crucial to grasp the innovative features and benefits of the Honeywell home t5 smart thermostat installation.
This device is not just a thermostat; it's a smart home hub designed to learn and adapt to your lifestyle, providing unparalleled control over your home's temperature and energy usage.
Innovative Features:
- Remote Accessibility: With the Honeywell T5, you can control your home's climate from anywhere in the world using your smartphone, tablet, or voice-controlled devices, offering unparalleled convenience.
- Geofencing: This feature uses your smartphone's location to adjust your home's temperature automatically, ensuring comfort when you're home and energy savings when you're away.
- Adaptive Recovery: The thermostat learns your heating and cooling preferences over time, adjusting settings to achieve the perfect temperature at the exact right moment.
- Energy Efficiency: Detailed reports on your heating and cooling patterns help you understand your energy usage, empowering you to make informed decisions that save money on your utility bills.
- Wide Compatibility: The Honeywell T5 is designed to work with a vast array of heating, cooling, and heat pump systems, making it a versatile choice for almost any home.
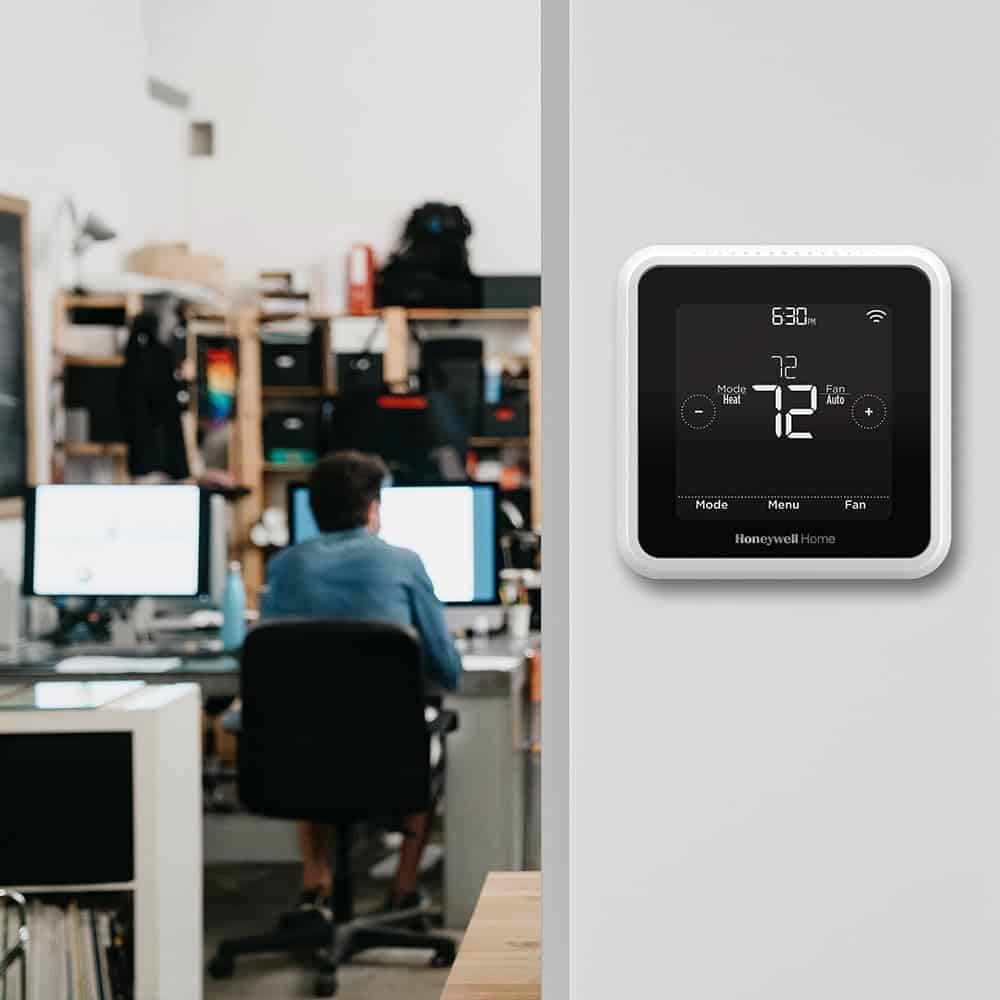
Preparation: The Key to a Smooth Installation
Embarking on your journey to install the Honeywell T5 Smart Thermostat requires thorough preparation.
Ensuring you have all the necessary tools and information beforehand will make the installation process smoother and more efficient.
Pre-Installation Checklist:
Embarking on your Honeywell Home T5 Smart Thermostat installation journey requires preparation. Here’s a checklist to ensure you’re ready:
- System Compatibility: First and foremost, verify that your HVAC system is compatible with the Honeywell T5 to avoid any installation hiccups.
- Gather Tools: Having the right tools at your disposal, including screwdrivers, drills, and wire labels, can significantly streamline the installation process.
- Safety First: Always turn off the power to your HVAC system at the breaker box to prevent electrical hazards during installation.
- Wi-Fi Connectivity: A stable and strong Wi-Fi connection is crucial for the setup and operation of your Honeywell T5, so ensure your network is reliable.
- Honeywell Home App: Downloading the Honeywell Home app on your smartphone is a must for guided installation instructions and future thermostat management.
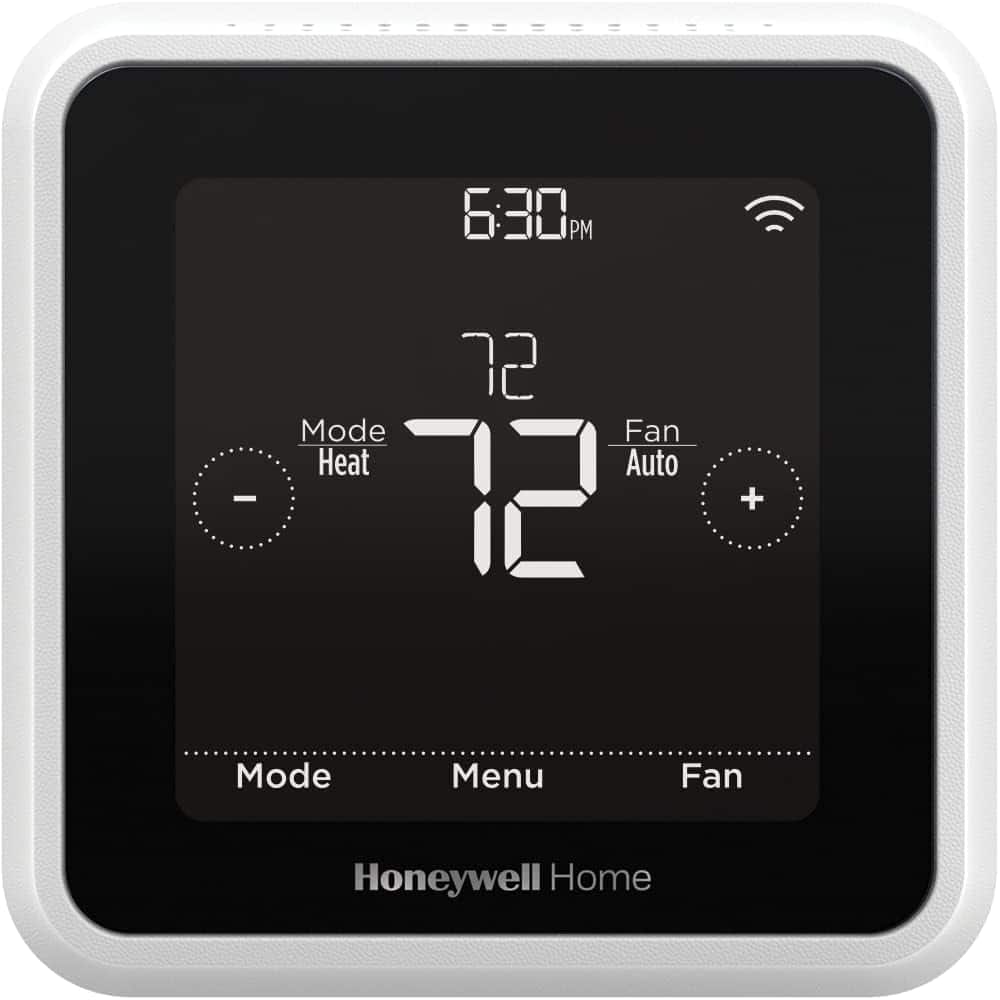
Step-by-Step Honeywell T5 Smart Thermostat Installation Guide
The installation process for the Honeywell T5 Smart Thermostat is a step-by-step journey that, when followed carefully, can be accomplished with relative ease.
Step 1: Removing the Old Thermostat
- Safety Precautions: Confirming the power to your HVAC system is off is paramount to ensure a safe removal process.
- Faceplate Removal: Gently detach the old thermostat's faceplate to expose the wiring beneath. This step often reveals the intricate network of wires that power your HVAC system.
- Labeling Wires: Before disconnecting any wires, label each one according to its terminal connection using the stickers provided or a labeling system of your own. This careful labeling is crucial for reconnecting the wires correctly to your new Honeywell T5.
- Unwiring: Loosen the terminal screws to free the wires. Approach this step with patience, as ensuring each wire remains intact is essential for a successful installation.
- Baseplate Removal: Finally, unscrew and remove the old thermostat's baseplate from the wall, setting the stage for your new Honeywell T5.
Step 2: Installing the Honeywell T5 Baseplate
- Positioning: Hold the Honeywell T5's baseplate against the wall, making sure it's level for a professional-looking installation.
- Drilling: After marking the screw holes, drill into the wall at those points and insert the provided wall anchors, preparing the wall to securely hold the baseplate.
- Securing the Baseplate: Align the baseplate with the anchors and screw it into place, ensuring it's firmly attached to the wall without overtightening, which could damage the baseplate or the wall.
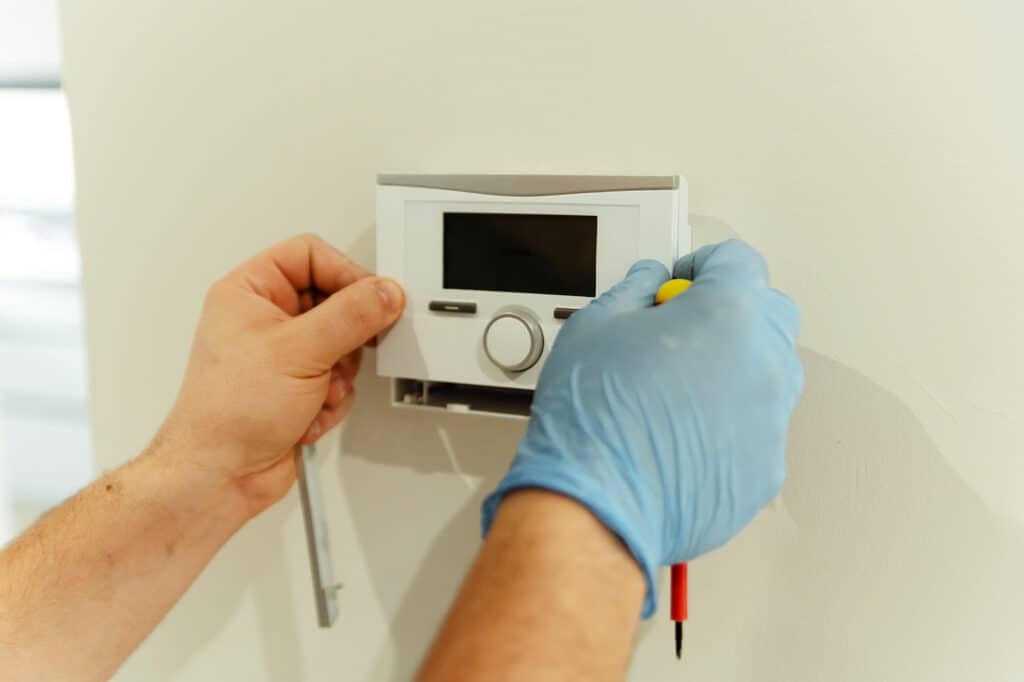
Step 3: Honeywell T5 Smart Thermostat Wiring
Navigating the Honeywell T5 Smart Thermostat wiring is a pivotal step towards a successful installation and seamless operation. The intricacies of t5 smart thermostat wiring require a careful approach, ensuring that each wire is correctly connected to its designated terminal.
This process not only guarantees that your thermostat will function as intended but also optimizes its efficiency and effectiveness in controlling your home's climate. For those embarking on the installation journey, familiarizing oneself with the t5 smart thermostat wiring diagram is essential.
Step 4: Attaching the Faceplate
- Alignment: Position the Honeywell T5's faceplate over the installed baseplate, ensuring it aligns correctly with the base.
- Securing the Faceplate: Gently but firmly press the faceplate until it snaps into place, signifying a successful attachment to the baseplate.
Step 5: Powering On and Setup
- Restoring Power: Turn the power back on to your HVAC system, which should prompt the Honeywell T5 to power up and display its startup sequence.
- Initial Configuration: Follow the on-screen instructions for connecting the thermostat to your Wi-Fi network and completing the initial setup, which includes setting your temperature preferences and schedule.
Step 6: Configuring the Honeywell Home App
- Application Setup: With the Honeywell Home app downloaded, open it on your smartphone and follow the prompts to add your new Honeywell T5 Smart Thermostat to the app.
- Personalization: The app allows you to customize settings, create schedules that suit your lifestyle, and integrate the thermostat with other smart home devices for a fully connected home experience.

Addressing Installation Challenges
Even with careful preparation and following the steps outlined, you might encounter some issues during installation. Here's how to troubleshoot common problems:
- Wi-Fi Connectivity Issues
Make sure your Wi-Fi router is operational and within a reasonable distance from the thermostat. If connectivity issues persist, re-enter the Wi-Fi settings on the thermostat.
- Incorrect Wiring
If the thermostat isn't functioning as expected, revisit the wiring connections, ensuring each wire is securely connected to its correct terminal based on the labels you created.
- Power Issues
If the thermostat does not power on, double-check that the power to your HVAC system is turned on and that the circuit breaker hasn't tripped.
Tips for Honeywell T5 Smart Thermostat Installation
For those looking to further enhance their Honeywell T5 installation:
- Conduct a Thorough Compatibility Check: Verify your HVAC system's compatibility with the Honeywell T5 to ensure full functionality and feature access.
- Map Out Your Wiring Ahead of Time: Take a photo of your existing thermostat's wiring for reference, and label each wire during disconnection to avoid confusion.
- Ensure a Strong Wi-Fi Signal: Test the Wi-Fi signal strength at the thermostat's location to guarantee reliable smart features usage; use a Wi-Fi extender if necessary.
- Don't Skip the C-Wire: Ensure your system has a C-Wire for continuous power to the T5; consider installing one or using an adapter if absent.
- Level the Baseplate for a Professional Finish: Use a level tool when mounting the baseplate to ensure a visually appealing and functional installation.
- Seal the Wall Opening: Apply a small amount of putty around the wires’ entry point to prevent drafts and create a cleaner appearance, without covering or pinching the wires.
- Test Before Finalizing: Power on and test the thermostat's functionality before securing the faceplate, making troubleshooting easier if needed.
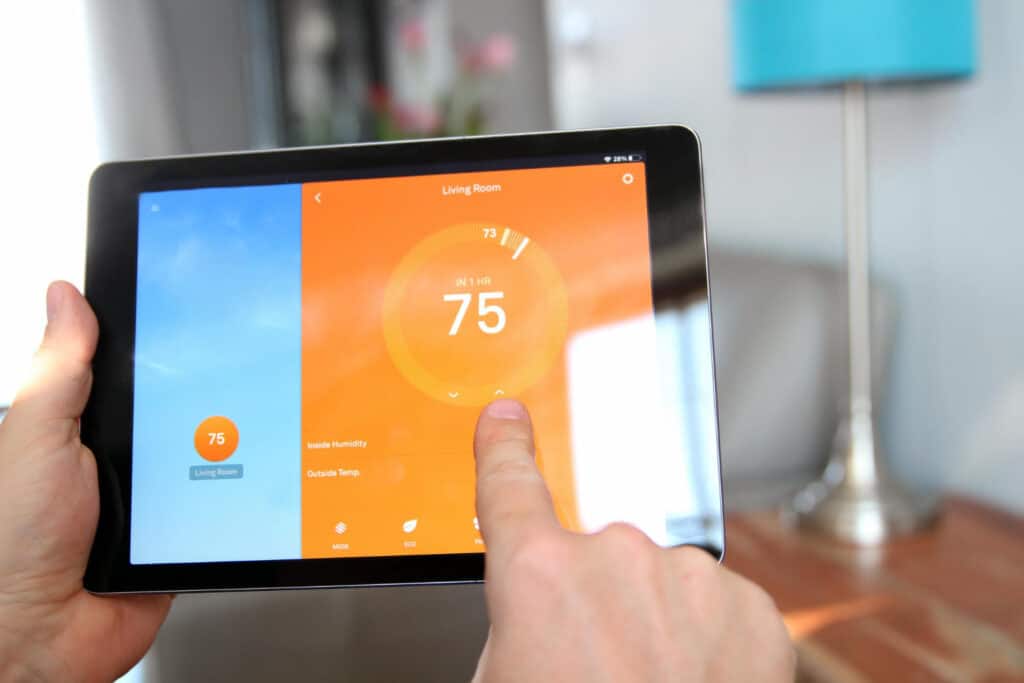
Honeywell Smart Thermostat vs Other Smart Thermostats: A Comparative Analysis
When it comes to upgrading your home with smart technology, choosing the right smart thermostat is crucial. The market is filled with numerous options, each boasting unique features and benefits.
Among these, the Honeywell Smart Thermostat series, including the popular T5 model, stands out for its reliability and comprehensive features.
To help you make an informed decision, let's compare the Honeywell Smart Thermostat with other leading smart thermostats on the market.
- User Interface and Ease of Use
Honeywell Smart Thermostat: Known for its intuitive interface, the Honeywell models provide easy navigation through touchscreens and the Honeywell Home app. The interface is designed for all users, regardless of their tech-savviness, making adjustments and scheduling straightforward.
Other Smart Thermostats: Competitors like the Nest Thermostat and Ecobee SmartThermostat also offer user-friendly interfaces. However, these features may come with a steeper learning curve for users not familiar with smart home technology.
- Compatibility and Integration
Honeywell Smart Thermostat: One of Honeywell's strengths is its broad compatibility with various HVAC systems and integration with multiple smart home ecosystems, including Amazon Alexa, Google Assistant, and Apple HomeKit. This versatility makes it a flexible option for many homes.
Other Smart Thermostats: While brands like Nest and Ecobee also support multiple smart home platforms, they may have limitations with certain HVAC systems, especially older or less common ones. It's essential to check compatibility before purchasing.
- Installation and Setup
Honeywell Smart Thermostat: Installation is designed to be DIY-friendly, with detailed instructions and online support. Most users can install the Honeywell T5 within 30 minutes to an hour. The inclusion of a C-Wire adapter in some models addresses compatibility issues with older systems.
Other Smart Thermostats: Installation complexity varies among brands. Nest's learning thermostat is notable for its easy installation, while Ecobee includes an extra room sensor, complicating setup slightly. However, both brands provide comprehensive guides and support.
- Features and Functionality
Honeywell Smart Thermostat: The T5 model offers geofencing, adaptive recovery, and energy usage reports, striking a balance between functionality and simplicity. While it learns schedules, it does not automatically adjust settings based on behavior to the extent that some competitors do.
Other Smart Thermostats: The Nest Thermostat is renowned for its learning capabilities, automatically creating schedules based on your habits. Ecobee offers room sensors for temperature adjustments based on occupancy, providing more detailed control over different zones in your home.
- Price and Value
Honeywell Smart Thermostat: Generally, Honeywell thermostats are priced competitively, offering a range of features at a lower cost than some high-end models. This makes them an excellent value proposition for those looking to enter the smart thermostat market without breaking the bank.
Other Smart Thermostats: Nest and Ecobee models tend to be priced higher, reflecting their advanced learning algorithms and additional sensors. While they offer enhanced automation and control, the price difference can be a consideration for budget-conscious buyers.
Honeywell T5 Smart Thermostat Installation Conclusion
The Honeywell T5 Smart Thermostat installation process, while straightforward, requires attention to detail and a basic understanding of your home's HVAC system.
By following this guide, you should feel confident in your ability to install the Honeywell T5 Smart Thermostat, ensuring your home's climate is comfortable, efficient, and smartly managed.
Remember, this device not only offers convenience and energy savings but also adapts to your lifestyle, making it a smart investment for any modern home.

