
Welcome to the comprehensive guide designed to walk you through the process of how to install Honeywell Smart Thermostat.
Whether you're a DIY enthusiast or someone looking to save on installation costs, this article will provide you with step-by-step instructions, tips, and considerations to ensure a successful installation of your Honeywell Smart Thermostat.
With an emphasis on clarity and detail, we aim to cover everything you need to know to make your thermostat installation smooth and trouble-free.
Understanding Your Honeywell Smart Thermostat
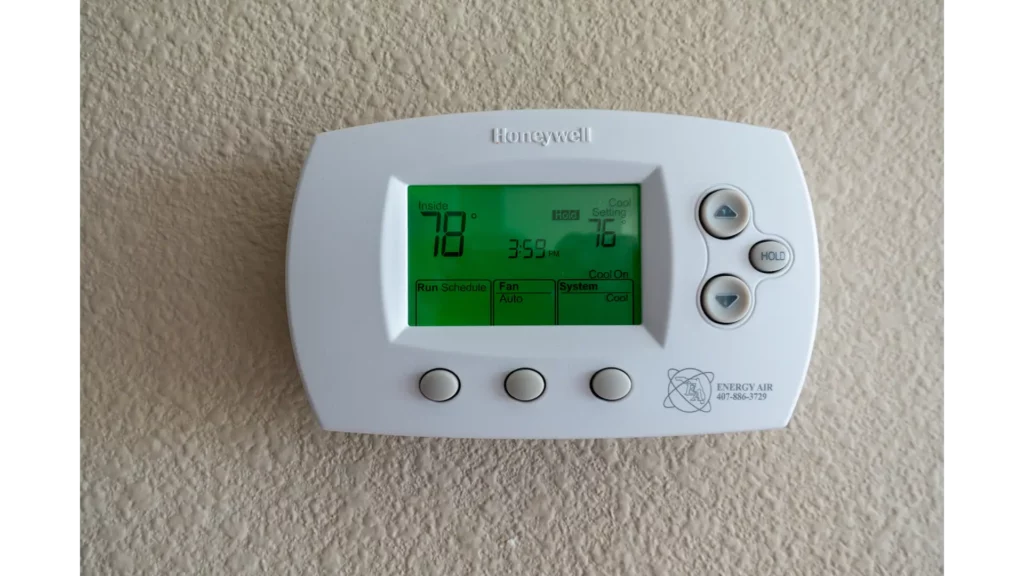
Before we dive into the intricacies of how to install Honeywell Smart Thermostat, let's understand why it's a worthy addition to your home. Honeywell Smart Thermostats are designed to enhance your home's heating and cooling system's efficiency,
provide you with remote access to your home's temperature control, and help you save on energy costs. Equipped with smart features such as Wi-Fi connectivity, voice command compatibility, and learning capabilities, Honeywell Smart Thermostats stand out in the smart home technology market.

Pre-Installation Checklist
Before you begin installing your Honeywell Smart Thermostat, it's essential to gather the necessary tools and ensure your HVAC system is compatible. Here's a quick checklist to get you started:
- Honeywell Smart Thermostat
- Screwdriver (Phillips and Flathead)
- Drill (if needed for mounting)
- Level
- Wire labels (included with the thermostat)
- Compatibility check with your HVAC system
- Access to your home's Wi-Fi network
Step-by-Step Guide on How to a Install Honeywell Smart Thermostat
Now that you're prepared let's dive into the installation process. Follow these steps carefully to ensure a successful setup of your Honeywell Smart Thermostat.
Step 1: Turn Off Power
Safety first! Start by turning off the power to your HVAC system at the circuit breaker. This will prevent any electrical mishaps during the installation process.
Step 2: Remove Existing Thermostat
If you have an existing thermostat, carefully remove it from the wall. Keep track of which wires are connected to each terminal as you'll need this information later.
Step 3: Label Wires
Using the wire labels provided with your Honeywell Smart Thermostat, label each wire according to the terminal it's connected to on your old thermostat. This will make reconnecting the wires much easier later on.
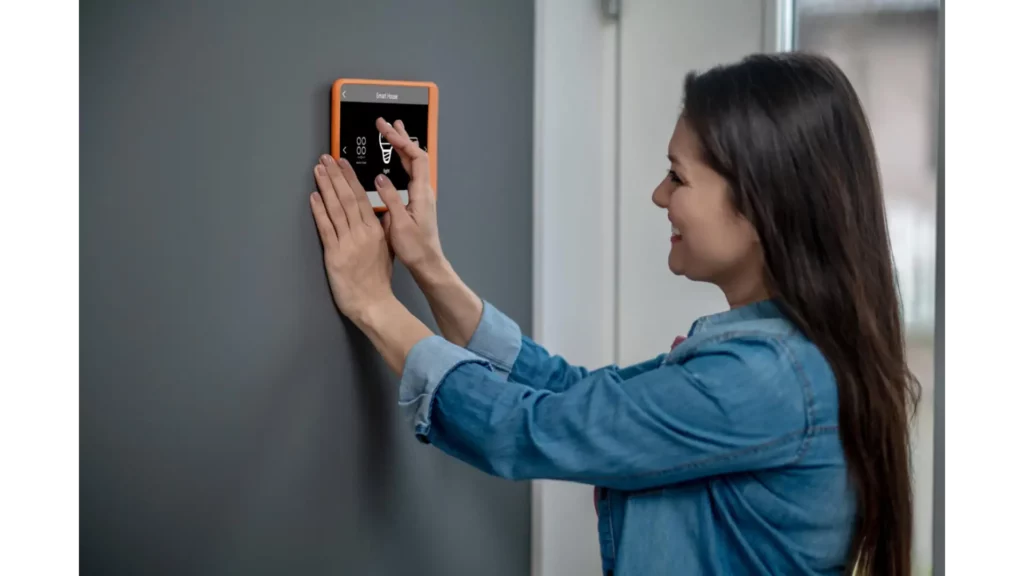
Step 4: Mounting the Thermostat
Choose a suitable location on your wall to mount the thermostat. Ensure it's positioned away from direct sunlight, drafts, and other sources of interference. Use a level to make sure it's straight before drilling any holes for mounting screws.
Step 5: Connect Wires
Carefully connect the labeled wires to the corresponding terminals on your Honeywell Smart Thermostat. Refer to the included installation guide for specific instructions based on your HVAC system type.
Step 6: Attach Thermostat to Mounting Plate
Once all wires are securely connected, attach the thermostat to the mounting plate. Make sure it's firmly in place before proceeding.
Step 7: Power On and Setup
Turn the power back on at the circuit breaker and follow the on-screen prompts on your Honeywell Smart Thermostat to complete the setup process. This typically involves connecting to your home's Wi-Fi network and configuring your desired temperature settings.
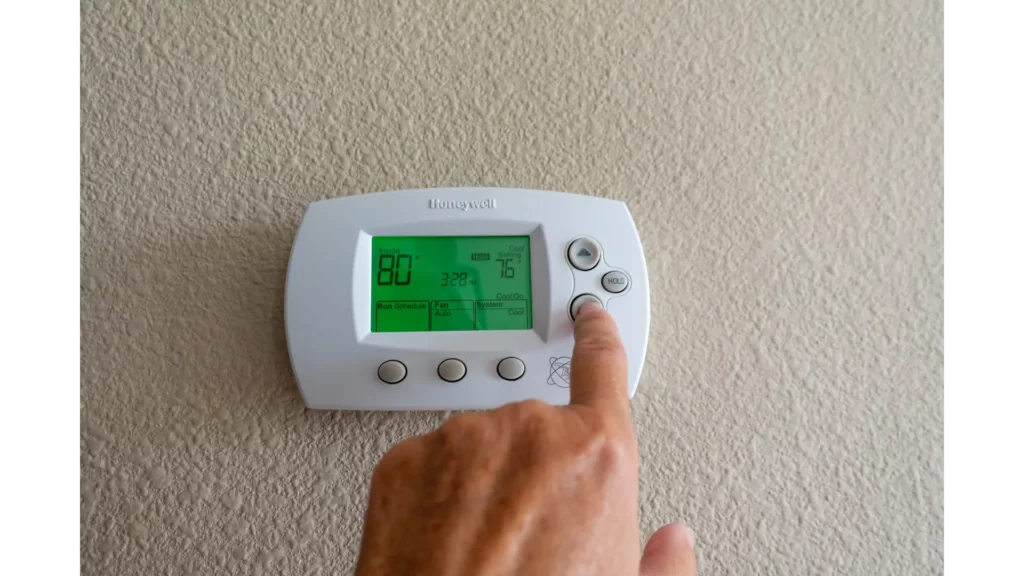
Step 8: Test the System
Once everything is set up, perform a test to ensure your Honeywell Smart Thermostat is functioning correctly. Adjust the temperature settings and monitor your HVAC system's response to ensure proper operation.
Additional Tips for Successful Installation
- Take a Picture: Before removing the old thermostat, take a picture of the wiring for reference.
- Label the Wires: Use the included labels to mark each wire according to its terminal connection.
- Check the Battery: Some Honeywell Smart Thermostat models may require batteries. Ensure they are installed and charged.
- Software Update: After installation, check for any firmware or software updates to ensure your thermostat operates with the latest features and improvements.
- Pre-Installation Checks: Confirm the thermostat's compatibility with your HVAC system and read the user manual thoroughly.
- Installation Preparation: Take a photo of the existing wiring for reference, use the provided labels to mark wires, and ensure any required batteries are installed and charged.
- Installation Process: Use a level for mounting accuracy, seal any wall openings behind the thermostat to prevent drafts, and consult an electrician if you encounter complex wiring scenarios.
- Post-Installation Setup: Update the thermostat's software, ensure a stable Wi-Fi connection for smart features, and familiarize yourself with the thermostat's app for remote control and scheduling.
- Maintenance and Optimization: Test all HVAC functions post-installation, set up all smart features and integrations immediately, and schedule regular HVAC maintenance to support system efficiency.
Exploring Smart Thermostat Options: Kasa, Round, and Alexa-Compatible Models
In the realm of smart home technology, the thermostat plays a pivotal role in enhancing home comfort and energy efficiency.
Among the plethora of options available, the Kasa Smart Thermostat, round smart thermostats, and Alexa smart thermostat installation stand out due to their unique features and compatibility with smart home ecosystems.
- Kasa Smart Thermostat: Seamless Integration and Efficiency
The Kasa Smart Thermostat seamlessly integrates with the Kasa Smart Home ecosystem, enabling remote temperature adjustments and scheduling via the Kasa Smart app.
To install, users must check HVAC compatibility, follow app instructions, and connect to Wi-Fi for full control.
- Round Smart Thermostat: Aesthetic Appeal Meets Functionality
Round smart thermostats combine classic design with modern features like learning abilities, humidity sensing, and energy reports. Installation includes removing the old unit, wiring the new device following instructions, and setting it up via an app.
These thermostats are favored by homeowners for their style and intelligence, adding both functionality and elegance to homes.
- Alexa Smart Thermostat Installation: Voice-Controlled Comfort
Installing an Alexa smart thermostat allows users to adjust home temperature with voice commands.
The process includes ensuring compatibility, connecting to Wi-Fi, and linking to the Alexa app for hands-free control, making it a game-changer for home automation.
Energy Saving Tips with Honeywell Smart Thermostat
Once you've mastered how to install Honeywell Smart Thermostat, optimizing its settings to save energy is crucial. Honeywell Smart Thermostats are designed to improve energy efficiency, but maximizing these benefits requires strategic use. Here are some tips:
- Utilize Scheduling: Take advantage of the scheduling feature to adjust the temperature when you're asleep or away from home. Setting the thermostat to lower heating or cooling when the house is empty can lead to significant savings.
- Leverage Geofencing: Some models offer geofencing capabilities, adjusting the temperature based on your smartphone's location. This ensures your home is comfortable when you arrive and saves energy when you're away.
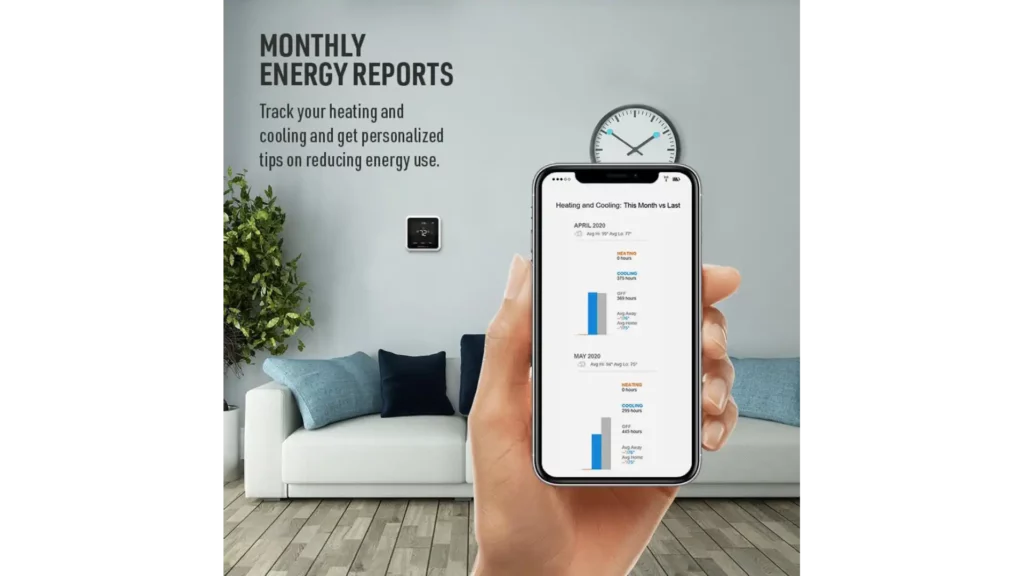
- Monitor Energy Reports: Honeywell Smart Thermostats can provide detailed energy usage reports. Review these regularly to understand your consumption patterns and make adjustments accordingly.
- Adjust Temperature Gradually: Large temperature swings can consume more energy. Adjust temperatures gradually to maintain comfort without overworking your system.
- Use Eco Mode: If your thermostat has an eco-mode, use it. This feature automatically adjusts the temperature to energy-efficient levels.
Professional Installation vs DIY: How to Install Honeywell Smart Thermostat
When considering how to install Honeywell Smart Thermostat, homeowners are faced with two primary options: professional installation or a do-it-yourself (DIY) approach.
Each option has its advantages and disadvantages, and the best choice depends on your comfort level with home improvement projects, your understanding of electrical systems, and the complexity of your HVAC system.
Professional Installation
Opting for a professional to install your Honeywell Smart Thermostat ensures that the job is done correctly and efficiently. Here's what you need to know about going pro:
Advantages:
- Expertise and Experience: Professionals have the necessary skills and experience to handle complex installations, including working with older or unconventional HVAC systems.
- Time-Saving: A professional installer can complete the job quickly, allowing you to enjoy the benefits of your smart thermostat without delay.
- Troubleshooting: Installers can immediately address any issues that arise during installation, such as incompatible wiring or system incompatibility.
- Warranty and Support: Some professional services offer warranties on their work, giving you peace of mind and support if problems occur later.
Disadvantages:
- Cost: Professional installation can be costly, depending on the complexity of the job and local rates.
- Scheduling: You'll need to schedule an appointment, which may not align with your immediate availability or preference.
DIY Installation
For those who are comfortable with basic home improvement tasks, installing a Honeywell Smart Thermostat yourself can be a rewarding project.
Advantages:
- Cost-Effective: You can save money by not paying for professional installation services.
- Learning Opportunity: Doing the installation yourself can provide a valuable learning experience and a sense of accomplishment.
- Flexibility: You can install the thermostat at your convenience, without waiting for an appointment.
Disadvantages:
- Complexity and Risk: If you're not familiar with electrical systems or your HVAC system is complex, you might encounter difficulties. Incorrect installation can risk damage to your thermostat or HVAC system.
- Time-Consuming: Without professional experience, the installation may take longer than expected.
- No Professional Support: If issues arise during or after installation, you'll need to troubleshoot them on your own or end up calling a professional, possibly incurring additional costs.
Making the Decision
When deciding between professional installation and DIY for installing your Honeywell Smart Thermostat, consider the following factors:
- Skill Level: Assess your comfort and experience with electrical work and following technical instructions.
- HVAC System Complexity: Older or more complex systems may benefit from a professional's touch.
- Budget: Determine whether the potential savings of DIY outweigh the convenience and assurance of professional installation.
- Time and Effort: Consider whether you have the time and willingness to learn and complete the installation process.
FAQs on Installing Honeywell Smart Thermostat
Q1: How do I know if my HVAC system is compatible with a Honeywell Smart Thermostat?
A1: Honeywell Smart Thermostats are compatible with most residential heating and cooling systems. To ensure compatibility, you can check the compatibility guide available on Honeywell's official website or consult with a professional HVAC technician.
Q2: Installing Honeywell Smart Thermostat without a C-wire?
A2: Some Honeywell Smart Thermostat models require a C-wire for continuous power. If your system does not have a C-wire, there are workarounds such as using a power adapter or installing a new wire. Refer to the installation manual of your specific model for guidance.
Q3: Is it necessary to turn off the power to my HVAC system before installing the thermostat?
A3: Yes, it's crucial to turn off the power to your HVAC system at the breaker box before starting the installation process. This step ensures your safety and protects your HVAC system from potential damage.
Q4: How do I connect my Honeywell Smart Thermostat to my Wi-Fi network?
A4: During the setup process on your Honeywell Smart Thermostat, you will be prompted to select your Wi-Fi network and enter the password. Ensure your Wi-Fi is operational and that you input the correct password for successful connectivity.
Q5: What should I do if the Honeywell Smart Thermostat does not power on after installation?
A5: If your thermostat does not power on, double-check that the power to your HVAC system is turned on at the breaker box. Also, ensure that all wires are correctly connected according to the wiring diagram and that any batteries (if required) are installed correctly.
Q6: Can I use the Honeywell Smart Thermostat with voice assistants like Amazon Alexa or Google Assistant?
A6: Yes, many Honeywell Smart Thermostat models are compatible with voice assistants such as Amazon Alexa and Google Assistant. You will need to connect your thermostat to these services through their respective apps and configure them accordingly.
Q7: What is the best way to label the wires during Honeywell smart thermostat installation?
A7: Use the labels provided in the Honeywell Smart Thermostat installation kit to mark each wire according to its connection point before disconnecting your old thermostat. If you did not take a picture or there are no labels available, carefully note down each wire's connection point for reference.
Q8: How to install a Honeywell Smart Thermostat myself, or do I need a professional?
A8: Many users can successfully install a Honeywell Smart Thermostat on their own by following the detailed instructions provided. However, if you're unsure about the compatibility of your HVAC system, the presence of a C-wire, or the installation process itself, it's recommended to consult with or hire a professional HVAC technician.
Q9: How do I update the firmware on my Honeywell Smart Thermostat?
A9: Firmware updates are typically done automatically when your thermostat is connected to Wi-Fi. However, you can check for updates manually through the thermostat's menu or the companion mobile app. Ensure your thermostat is connected to your Wi-Fi network to receive updates.
Q10: Who can I contact for support if I encounter issues during installation?
A10: For support, you can contact Honeywell's customer service via their official website or phone. Additionally, there are numerous online resources, forums, and DIY communities where you can seek advice and share experiences with others who have installed Honeywell Smart Thermostats.
How to Install Honeywell Smart Thermostat Conclusion
Installing a Honeywell Smart Thermostat is a straightforward process that can significantly enhance your home's energy efficiency and comfort.
By following this detailed guide on how to a install Honeywell Smart Thermostat, you'll be equipped to successfully install your new smart thermostat.
Remember, taking your time to carefully follow each step, from preparation to setup, will ensure a smooth installation process and allow you to enjoy the benefits of your Honeywell Smart Thermostat for years to come.